Proxmox VM 硬件选择

  1. CPU

对于Proxmox VE 8.0以上的版本来说,VM的默认CPU 是X86-64-v2-AES

x86-64-v2-aes 有着最好的兼容性,如果你的cluster使用live migration 或者cluster里面有不同的cpu,比如说intel 和 amd 的CPU混在一起

如果你不使用migration,想要发挥宿主CPU的最大性能,那么可以使用host

2 BIOS

legacy BIOS 使用的是SeaBios, 建议使用最新的UEFI BIOS,也就是OVMF

3 SCSI controller

无论是linux还是windows,无脑使用virtIO

4 Hard disk

建议使用ZFS(ZFS不支持使用hardware raid的disk),如果ZFS支持thin provisioning

5 network device

无论是linux还是windows,无脑使用virtIO

windows原生不支持virtIO,因此使用virtIO的话,需要在VM上自己安装virtIO驱动

Linux Journal 的日志太大

位于/var/log/journal文件夹下面的journal 日志太大,一般系统限制为4GB, 对于一些硬盘比较小的VM就不太友好了

这个是由systemd-journal引起的,我们需要clean it 和limit its growth

Clean Existing Logs

Check current disk usage:

journalctl --disk-usage

Delete logs older than a certain time (e.g., 7 days):

journalctl --vacuum-time=7d

Or limit total size (e.g., 500MB):

journalctl --vacuum-size=500M

Or keep only N logs (e.g., last 10 boots):

journalctl --vacuum-files=10


Prevent Logs from Growing Too Large

Edit the persistent journal configuration:

sudo nano /etc/systemd/journald.conf

Look for or add these lines:

SystemMaxUse=500M
SystemKeepFree=100M
SystemMaxFileSize=100M
SystemMaxFiles=10

Then restart systemd-journald:

sudo systemctl restart systemd-journald


(Optional) Disable Persistent Journaling

If you don’t need persistent logs across reboots:

sudo rm -rf /var/log/journal
sudo mkdir /run/log/journal
sudo systemctl restart systemd-journald

This means logs will be lost after reboot.

对于我个人来说,我喜欢做如下设置:

journalctl --vacuum-size=200M

然后在/etc/systemd/journald.conf 中设置

SystemMaxUse=200M

SystemMaxFileSize=100M

最后重启journald服务

systemcl restart systemd-journald
vCSA安全设置

VMware其实建议了vCSA security的best practice:

the access to the vCSA should only be allowed from trusted hosts or virtual machines, and access to the remaining devices should be blocked. Also note that some 3rd party VMware backup products or vROPs, SRM etc. should be considered when blocking access to the vCSA.

vCSA默认是不log iptables的activity,如果你想看到iptables的log,你可以在vCSA的shell上运行下面的commands:

# iptables -N LOGGER
# iptables -A LOGGER -j LOG –log-prefix ‘iptable log: ’ ‘ --log-level 7
# iptables -A OUTPUT -j LOGGER
# iptables -I OUTPUT -j LOGGER
# iptables -I INPUT -j LOGGER

然后你就可以通过下面的command来监控iptables 的log:

# journalctl -k |grep “iptable”

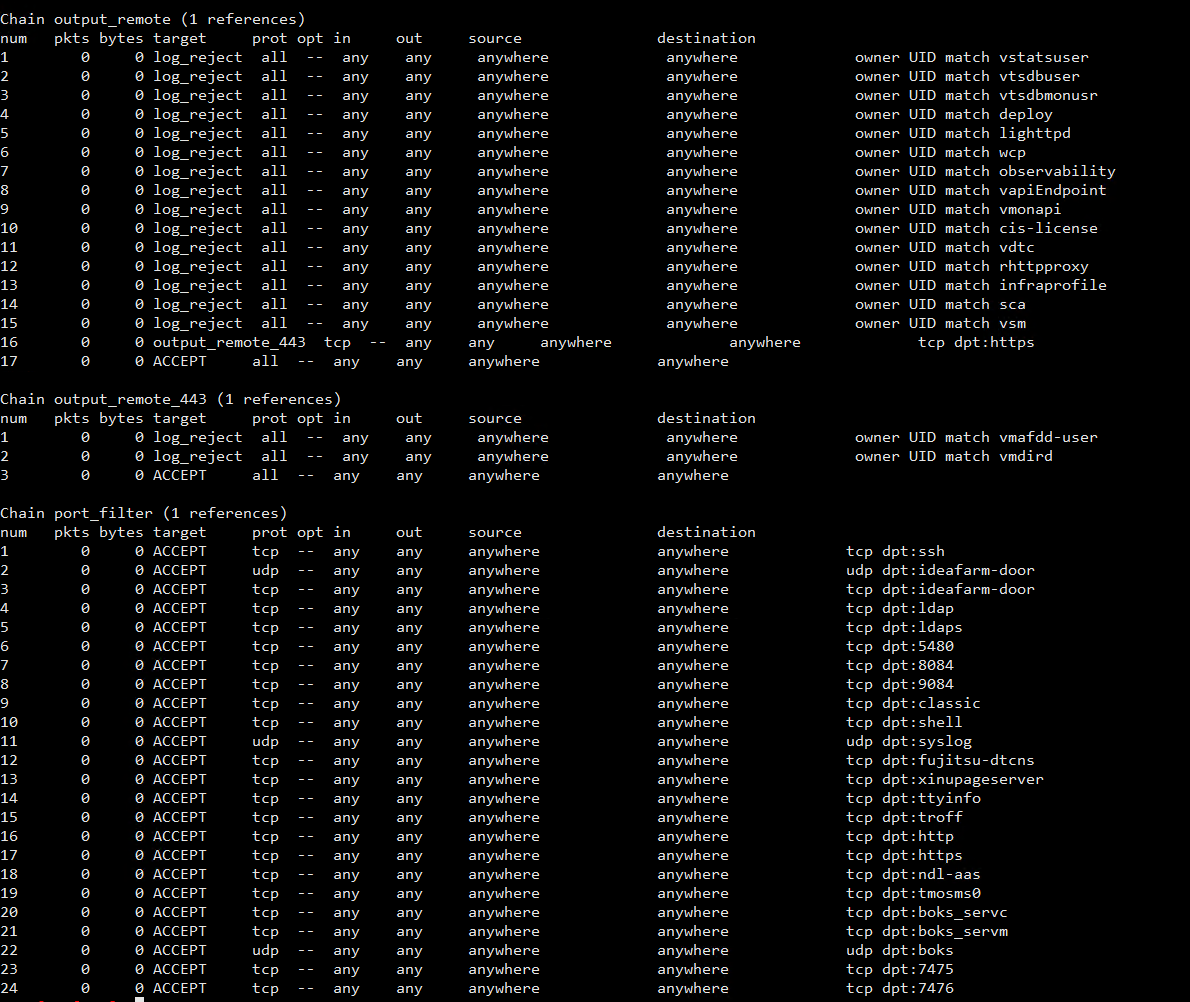
加固vCSA有多种措施,最简单有效的就是网络层的限制,也就是通过防火墙来限制.

vCSA自带一个简单的防火墙,调用的是iptables,可以通过vCSA IP:5480 来访问vCenter Server Appliance。

在firewall 里面只能简单的whitelist 或者blacklist ip or CIDR.

一个简单的策略就是在firewall 里面 白名单自己的堡垒机IP,管理IP,备份IP等等,然后通过SSH,登录root,在iptables 里面

直接ban掉80,443和5480端口,这样就相当于你的管理端口没有暴露在公网上.

下面是详细的iptables 规则:

iptables -N inbound-custom
iptables -A inbound-custom -p tcp -m tcp --dport 80 -j DROP
iptables -A inbound-custom -p tcp -m tcp --dport 443 -j DROP
iptables -A inbound-custom -p tcp -m tcp --dport 5480 -j DROP
iptables -A inbound-custom -j RETURN
iptables -I INPUT 5 -j inbound-custom


iptables Debug问题

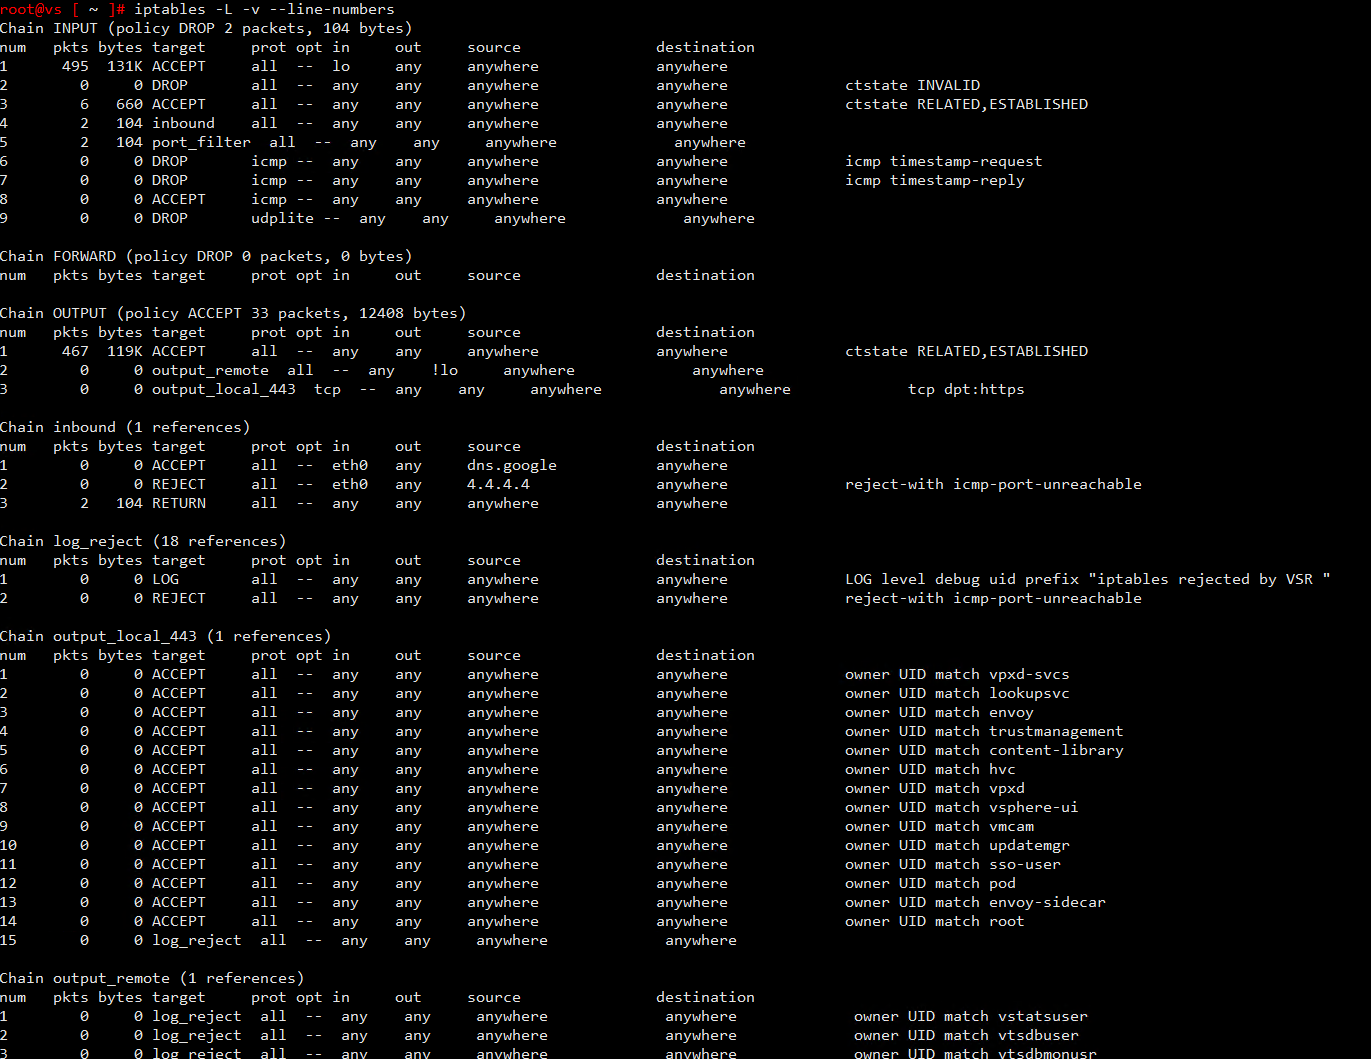
debug iptables规则的时候,不要仅仅简单的使用

iptables -L INPUT

虽然自己不喜欢在iptables 的INPUT chain 里面绑定interface,但是还是有很多公司喜欢的

(今天的debug 没有注意到interface,结果白白浪费了一上午时间)

因此一般建议使用

iptables -L INPUT -v --line-numbers

或者更加推荐使用

iptables -nvL INPUT --line-number

-n → Numeric output (prevents DNS resolution, showing raw IPs instead of hostnames).
-v → Verbose output (displays packet counts, byte counts, and interface details).
-L → List rules in the specified chain (INPUT in this case).